 BuckleUpLaws
5 Most Common Car Seat Installation Mistakes (And How to Fix Them)
Why This Matters
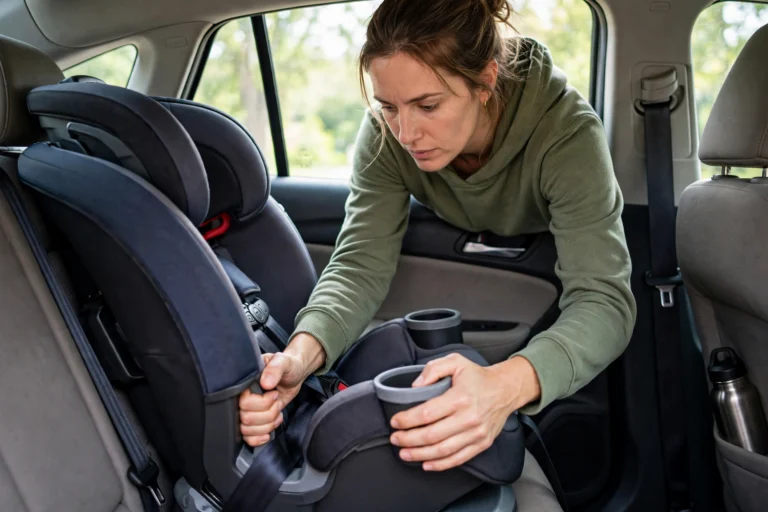
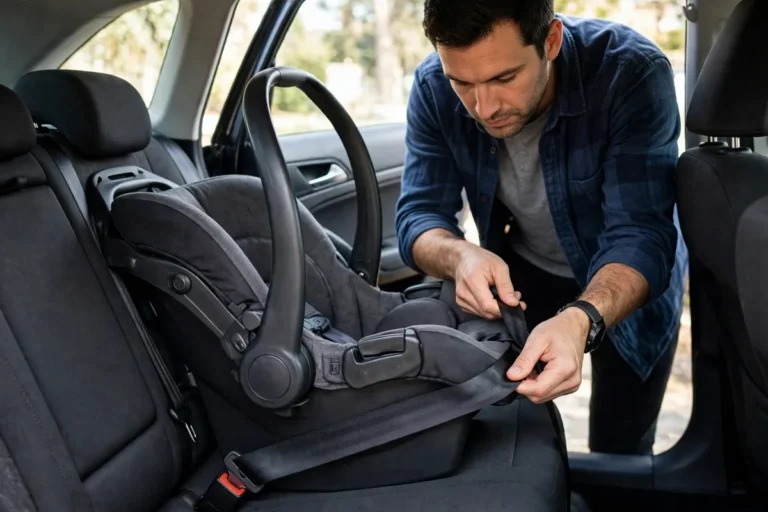
NHTSA estimates that nearly half of all car seats are installed incorrectly. A car seat that’s used wrong provides a fraction of its designed protection — sometimes no more than a seat belt alone — which is exactly why getting car seat installation right is so important. The good news: every mistake below is fixable in minutes.
Mistake #1: The Seat Moves More Than 1 Inch
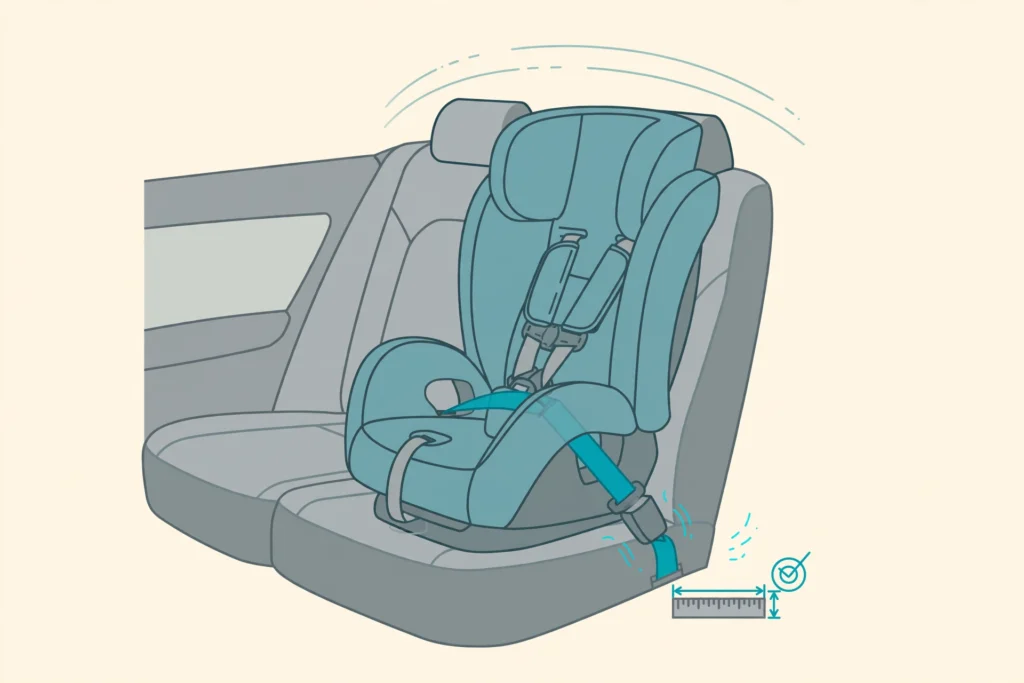
The problem: After installation, the car seat shifts more than 1 inch side-to-side or front-to-back at the belt path.
How to check: Grab the seat at the belt path (where the seat belt or LATCH strap goes through) and try to move it. If it moves more than 1 inch in any direction, it’s too loose.
The fix:
– If using LATCH: kneel in the seat to compress it while tightening the strap
– If using seat belt: lock the seat belt (pull it all the way out until it clicks into locking mode), then press down firmly while feeding the slack back in
– Check your vehicle manual — some seats require specific belt paths for rear vs. forward-facing
Mistake #2: Harness Straps Are Too Loose
The problem: You can pinch slack in the harness straps at the child’s shoulder.
How to check: After buckling, try to pinch the strap vertically at the collarbone. If you can pinch any slack, it’s too loose.
The fix: Tighten until you can’t pinch slack. The harness should be snug — think “snug as a hug,” not “crushing.” A good test: if you can fit more than one finger flat under the strap at the collarbone, tighten more.
Critical detail: Remove bulky coats and jackets before strapping in. A puffy coat creates dangerous slack — in a crash, the coat compresses and the child can be ejected. Dress them in thin layers and put the coat on backwards over the harness.
Mistake #3: Chest Clip in the Wrong Position
The problem: The chest clip (the buckle that connects the two shoulder straps) sits too low on the stomach or too high on the neck.
How to check: The chest clip should be at armpit level — aligned with the child’s armpits.
Why it matters: The chest clip’s job is to keep the shoulder straps positioned correctly. Too low, and the straps can slide off the shoulders in a crash. Too high, and it can injure the throat.
The fix: Slide it to armpit level every single time. Make it a habit — it’s a 2-second check.
Mistake #4: Wrong Recline Angle for Rear-Facing
The problem: A rear-facing seat installed too upright for a newborn, or too reclined for an older baby.
Why it matters: Newborns can’t hold their heads up. If the seat is too upright, their chin drops to their chest, potentially obstructing the airway. Too reclined for an older child reduces crash protection.
The fix:
– Most seats have a built-in angle indicator (bubble level, line, or color zone). Use it.
– For newborns: aim for a 45-degree recline
– For older babies with head control: 30–35 degrees is fine (check your seat’s manual)
– Use a tightly rolled towel or pool noodle at the seat bight (where the back and bottom cushions meet) if needed to achieve the correct angle — this is approved by manufacturers
Mistake #5: Turning Forward-Facing Too Early
The problem: Switching to forward-facing at age 1 (the old minimum) instead of following current guidance.
The fix: Keep children rear-facing until at least age 2, and ideally until they reach the seat’s maximum rear-facing height or weight limit. See our complete guide to rear-facing for the full science.
Bonus: LATCH Weight Limits
Many parents don’t know that LATCH (Lower Anchors and Tethers for Children) has weight limits. Once your child + car seat combined weight exceeds 65 lbs, you must switch from LATCH to seat belt installation. Check both your car seat manual and vehicle manual — the lower of the two limits applies.
Get a Free Professional Car Seat Installation Check
You don’t have to figure this out alone:
– Read the official NHTSA car seat installation guidance, then use NHTSA’s inspection station locator to find certified Child Passenger Safety Technicians near you
– Many fire stations, hospitals, and police departments offer free car seat checks
– Safe Kids Worldwide hosts inspection events nationally
A 15-minute check by a certified technician can catch things you’d never notice.
Good car seat installation is a skill worth practicing, not a one-time task. Repeating the belt-path and one-inch checks after every car seat installation helps you spot loose straps or a wrong angle early, and a careful car seat installation gives you confidence that the seat will do its job on every trip.
Frequently Asked Questions
How do I know if my car seat is installed tightly enough?
The 1-inch test: grab at the belt path and try to move it. Less than 1 inch of movement in any direction means it’s tight enough.
Can I use both LATCH and seat belt at the same time?
No, unless your car seat manufacturer explicitly allows it (very few do). Use one or the other — not both.
My seat wiggles at the top but not at the belt path. Is that okay?
Yes. Some movement at the top of the seat (away from the belt path) is normal, especially for forward-facing seats. Only the belt path needs to be tight.
Should I put a towel under the car seat to protect my upholstery?
Only if the car seat manufacturer allows it. A thick towel or mat can interfere with installation tightness. If allowed, use only a thin towel.