 BuckleUpLaws
Car Seat Moves More Than 1 Inch? How to Fix It
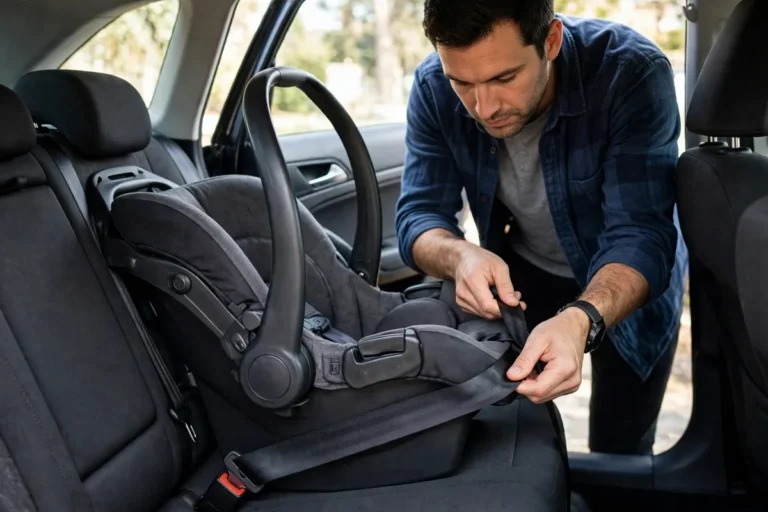
You have installed your child’s car seat, tightened the straps, and checked everything. But when you move the seat side to side, it still shifts more than an inch. Does that mean the installation is unsafe?
In most cases, yes, it means you need to address the installation before using the seat.
The one-inch test is an important part of checking a car seat installation. According to the National Highway Traffic Safety Administration (NHTSA), a properly installed car seat should not move more than one inch from side to side or front to back when tested at the belt path.
However, knowing where to check and how to correct excessive movement is just as important as understanding the rule.
If your car seat moves more than one inch at the belt path, stop and correct the installation before traveling with your child. The solution may involve tightening the seat belt, adjusting the lower-anchor strap, correcting the belt path, or choosing another approved seating position.
In this guide, we’ll explain how the one-inch test works, why car seats become loose, and what parents can do to fix the problem.
What Is the 1-Inch Car Seat Test?
The one-inch car seat test is a simple way to check whether a child restraint is secured tightly enough to the vehicle.
After installing the car seat, grip it near the belt path and gently try to move it:
- Side to side.
- Front to back.
The seat should not move more than one inch in either direction.
The belt path is the area where the vehicle seat belt or the car seat’s lower-anchor strap passes through the child restraint.
This detail matters because testing movement at the top of the seat can give misleading results. A car seat may move more at the upper portion while remaining securely attached at its belt path.
For an accurate test, place your hands near the installation point rather than pulling on the headrest or top of the car seat.
The CDC and NHTSA both recommend checking for no more than one inch of movement at the belt path.
Why Does Your Car Seat Move More Than One Inch?
There are several reasons a car seat may move excessively after installation.
1. The Seat Belt Is Not Tight Enough
If you install a car seat using the vehicle seat belt, insufficient tension can allow the restraint to move.
Even when the belt is buckled, it may not be locked correctly. Some vehicles require a specific locking procedure to keep the belt tight around the car seat.
2. The LATCH Strap Is Loose
Lower-anchor installations also require proper tightening.
If the LATCH strap has too much slack, the car seat may shift during the one-inch test.
3. The Wrong Belt Path Is Being Used
Many convertible car seats have different belt paths for rear-facing and forward-facing installation.
Using the wrong path can prevent the seat from being installed correctly.
4. The Seat Belt Is Not Locked
A seat belt that has not been locked according to the vehicle manufacturer’s instructions may loosen after installation.
Check whether your vehicle uses a locking retractor, locking latch plate, or another approved method.
5. The Seating Position Is Not Compatible
Some vehicle seats have unusual shapes, contours, or belt arrangements that make certain car seats difficult to install securely.
A different approved seating position may provide a better fit.
Learn more about: The 4’9″ Rule for Booster Seats: Why Does Height Matter?
How to Fix a Car Seat That Moves More Than One Inch
If your car seat fails the one-inch test, do not simply accept the movement. Recheck the installation and correct the problem using the manufacturer’s instructions.
Here are the steps to follow.
Step 1: Read Both Manufacturer Manuals
Before making adjustments, check your car seat manual and vehicle owner’s manual.
Look for:
- The correct installation method.
- The approved belt path.
- Lower-anchor restrictions.
- Seat belt locking instructions.
- Any requirements for the vehicle seating position.
Every car seat and vehicle is different, so avoid copying an installation technique from another model.
Step 2: Check the Belt Path
Confirm that the seat belt or lower-anchor strap passes through the correct belt path for your car seat’s direction of travel.
Make sure the webbing is not twisted, trapped, or routed around an incorrect part of the seat.
If you are using a convertible car seat, double-check whether you selected the rear-facing or forward-facing belt path correctly.
Step 3: Tighten the Installation
If the seat is installed using the vehicle seat belt, apply pressure to the car seat near the belt path while removing slack according to the manufacturer’s instructions.
If you are using lower anchors, press down on the appropriate part of the seat and tighten the lower-anchor strap.
For an infant carrier installed using a detachable base, follow the instructions for tightening the base rather than pulling on the carrier.
Do not use excessive force or attempt a tightening method that the manufacturer does not permit.
Step 4: Make Sure the Seat Belt Is Locked
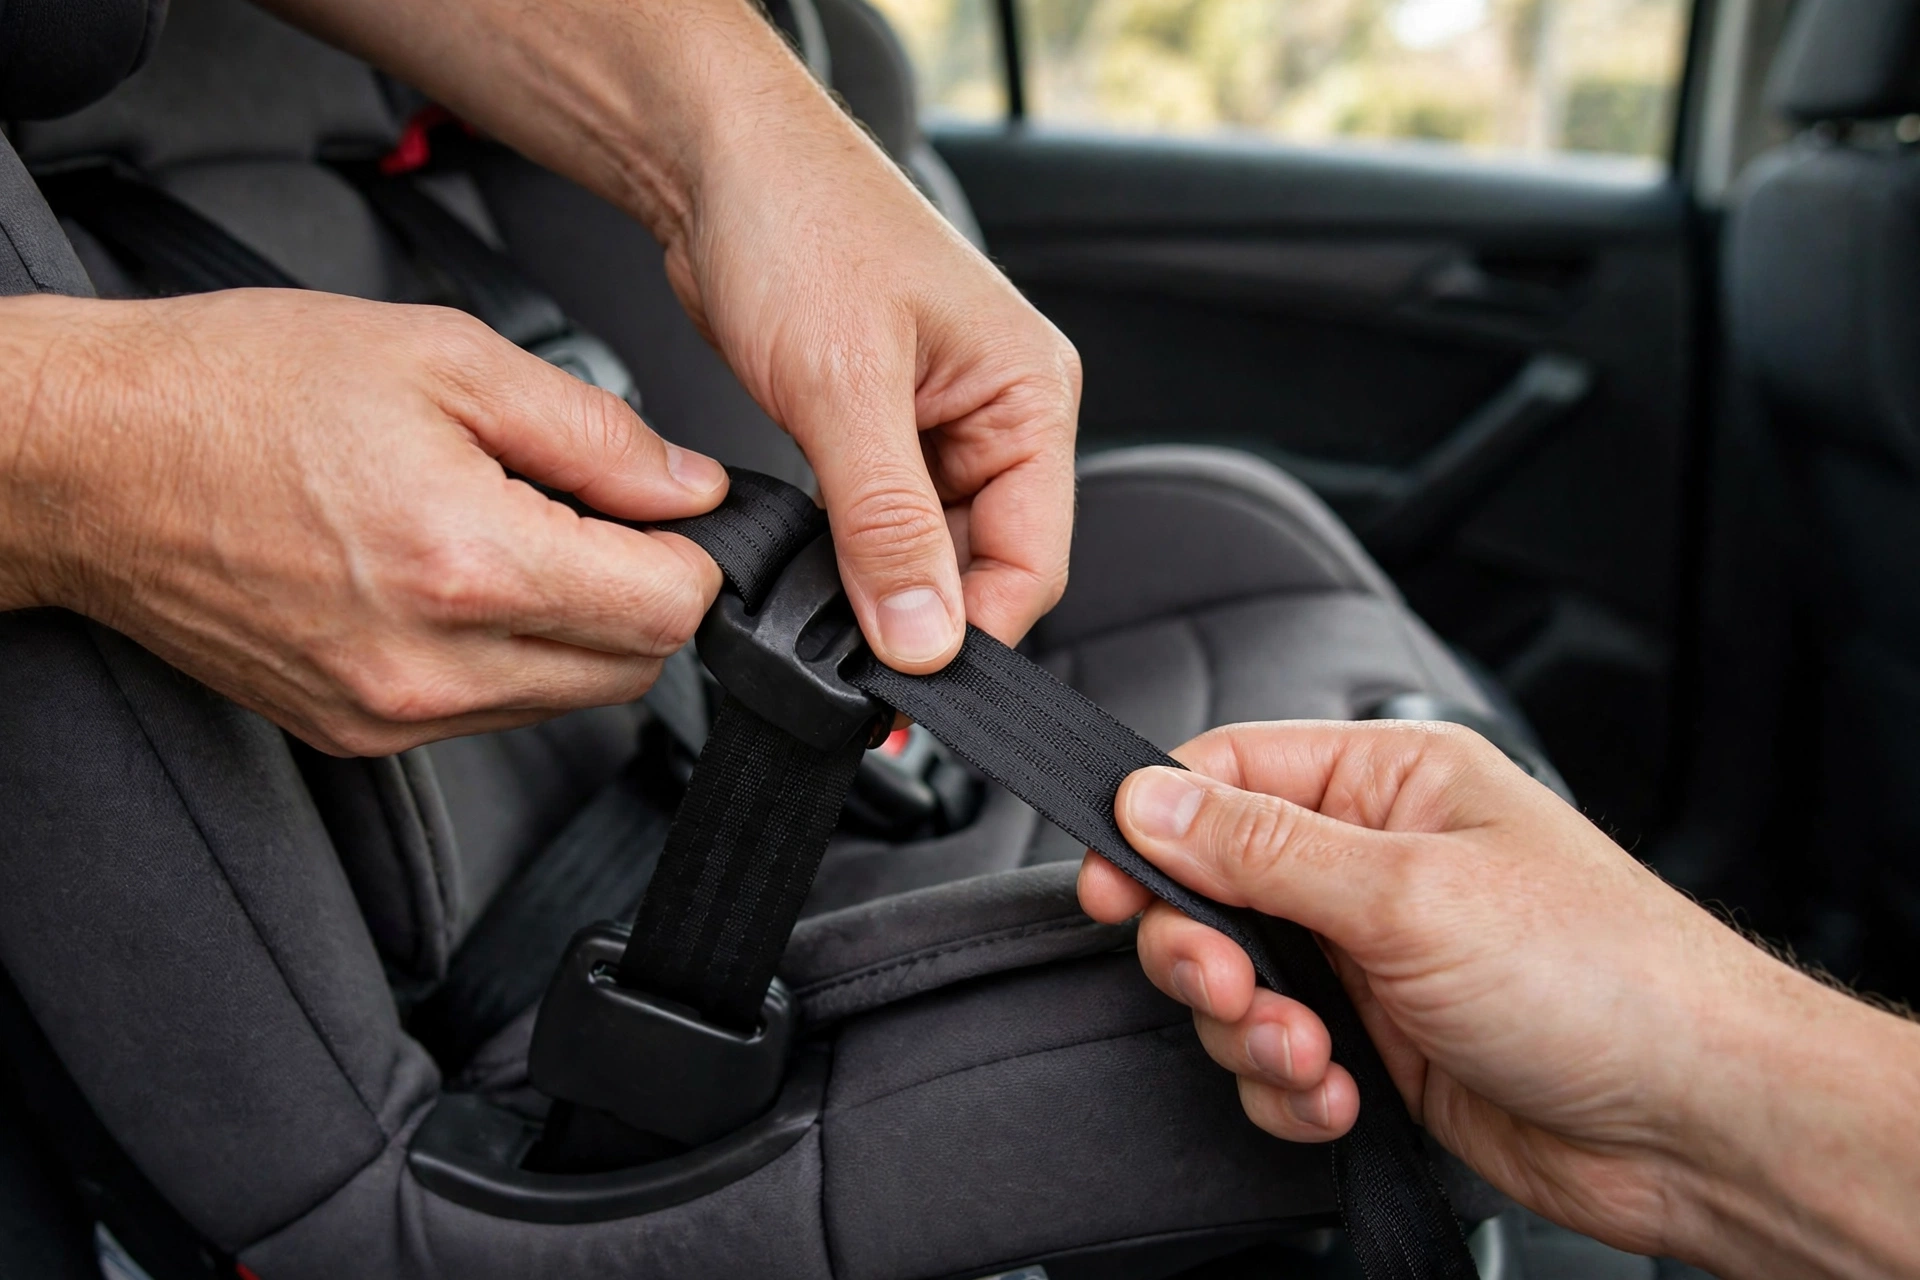
When using a vehicle seat belt, confirm that it is locked correctly.
Some vehicles allow the shoulder belt to be pulled all the way out before it retracts into a locked mode. Others use different locking mechanisms.
Some car seats also have built-in lock-offs.
Use only the locking method specified in the manuals. Do not assume that a buckled seat belt is automatically locked for child restraint installation.
Step 5: Check the Lower Anchors
If you are using LATCH, make sure both connectors are attached to the correct lower anchors.
Check that the strap is not twisted and that it is tightened according to the car seat instructions.
Also confirm that your child’s weight is within the permitted lower-anchor limit.
If the applicable weight limit has been reached, switch to an approved seat belt installation rather than continuing to use the lower anchors.
Step 6: Perform the One-Inch Test Again
Once you have corrected the installation, grip the car seat at the belt path.
Try moving it from side to side and front to back.
If it moves no more than one inch in either direction, it meets the general tightness check described by NHTSA.
Also check the recline angle for rear-facing seats and use the top tether for a forward-facing harnessed seat according to the manufacturer’s instructions.
If the seat still moves excessively, do not use that installation until you have corrected the issue.
Does the One-Inch Rule Apply to LATCH and Seat Belt Installations?
Yes. The one-inch installation check applies whether the car seat is secured using lower anchors or the vehicle seat belt.
Both methods need to provide a secure installation.
With LATCH, the lower-anchor strap must be tightened correctly and connected to the designated vehicle anchors.
With a seat belt, the belt must follow the correct path, be locked as required, and remain tight around the restraint.
Neither method is automatically better if the installation is loose.
For a deeper comparison, read our guide on LATCH vs. seat belt installation: which is safer?
What If the Car Seat Still Moves More Than One Inch?
Sometimes a car seat remains loose even after you have followed the installation instructions.
If this happens, consider these options:
Try another approved seating position. Your vehicle’s center seat may not provide the best fit for every car seat. An appropriate outboard rear seating position may allow a more secure installation.
Check for compatibility issues. Certain vehicle seat shapes, belt buckles, or anchor locations can make installation difficult. Review the compatibility guidance from both manufacturers.
Consider the alternative installation method. If permitted by both manufacturers, you may be able to switch from lower anchors to the vehicle seat belt, or vice versa.
Get professional assistance. A certified Child Passenger Safety Technician (CPST) can inspect the installation and demonstrate how to correct it.
Do not add towels, pool noodles, locking clips, or other accessories unless the car seat manufacturer specifically permits their use for your installation.
If you cannot achieve a secure installation, do not travel with your child in that seat until the problem has been resolved.
Common Mistakes Parents Make During the 1-Inch Test
Testing at the Top of the Car Seat
The one-inch test should be performed at the belt path. Pulling the headrest or top of the seat does not provide the correct measurement.
Confusing Seat Movement With Vehicle Cushion Movement
Vehicle seat cushions can compress and move slightly during testing. Focus on how the car seat moves at its installation point, following the manufacturer’s instructions.
Forgetting to Lock the Seat Belt
A buckled seat belt may still need to be locked using the vehicle’s approved procedure.
Tightening Without Checking the Belt Path
A strap can be tight but routed incorrectly. Always verify the belt path before relying on the installation.
Ignoring the Top Tether
For forward-facing harnessed car seats, the top tether is an important part of the installation. Use it as instructed, even when the seat is secured using the vehicle seat belt.
For more guidance, read our related article on common car seat installation mistakes.
Does the One-Inch Test Apply to Booster Seats?
The traditional one-inch installation test is intended for checking how a car seat or child restraint is secured to the vehicle.
A belt-positioning booster works differently from a harnessed car seat. In many models, the vehicle seat belt secures the child and booster together rather than the booster being installed using lower anchors or a seat belt.
Some boosters have lower-anchor attachments that keep the booster positioned when the child is not sitting in it.
Always follow the booster manufacturer’s instructions. Do not apply the harnessed car seat installation test to every booster model without checking its requirements.
Read more about: High-Back vs. Backless Booster Seat: Which Is Better?
Frequently Asked Questions
How much movement is acceptable during the car seat test?
A properly installed car seat should not move more than one inch side to side or front to back when checked at the belt path.
Should I test car seat movement at the top or bottom?
Test at the belt path, where the vehicle seat belt or lower-anchor strap secures the car seat. Do not judge installation tightness by pulling the top of the seat.
Why does my car seat move side to side but not forward and backward?
This may indicate uneven tightening, incorrect strap positioning, or a seating-position compatibility issue. Recheck the installation instructions and tighten the system as directed.
Can I use both LATCH and the seat belt to stop my car seat from moving?
Generally, no. Use one approved installation method unless the car seat and vehicle manufacturers specifically permit using both together.
Is a car seat safe if it moves slightly?
Some movement is normal. The important requirement is that it does not move more than one inch in either direction when checked at the belt path.
What should I do if tightening does not fix the problem?
Review both manuals, consider another approved seating position or installation method, and seek assistance from a certified Child Passenger Safety Technician.
Final Verdict: How to Fix a Car Seat That Moves More Than One Inch
If your car seat moves more than one inch during the installation test, the installation needs to be checked and corrected before your child travels.
Start by checking the belt path, tightening the seat belt or lower-anchor strap, and confirming that the installation system is locked correctly.
Then repeat the test by gripping the seat at the belt path and checking movement in both directions.
Remember that the one-inch rule is not about eliminating every small movement in the vehicle seat. It is about making sure the child restraint is securely attached to the vehicle.
If you cannot achieve a secure installation, ask a certified Child Passenger Safety Technician for help.
At Buckle Up Laws, our goal is to make child passenger safety information easier for parents to understand so they can make informed decisions about every journey.